April 10, 2026 · 6 min read
How to Prep a Deck for Staining (Why Prep Matters Most)
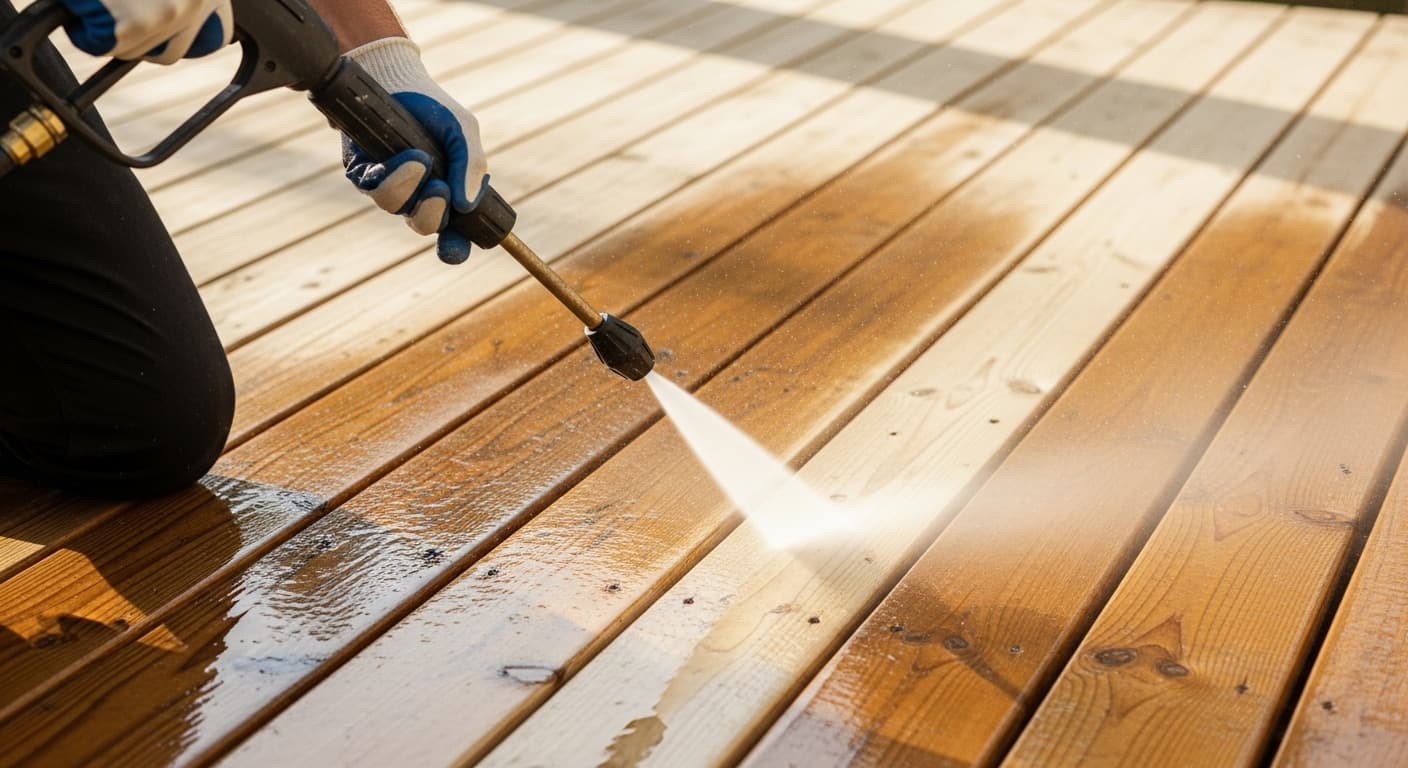
Ask any professional what separates a stain job that lasts two years from one that lasts six, and you'll get the same answer: it's the prep, not the stain. The finish coat gets all the attention, but the work that happens before the first drop of stain goes down is what actually determines how long it lasts. Here's how proper deck preparation works — and why skipping it is the most expensive shortcut in deck care.
Why prep is everything. Stain can only bond to a clean, sound, open surface. Lay even the best premium stain over dirt, mildew, mill glaze, or a failing old finish, and it has nothing to grip — it'll fade, flake, or peel within a season or two. A deck that's been properly prepped, by contrast, lets the stain penetrate evenly and lock in. Same stain, same crew, wildly different lifespan, decided entirely by what happened first.
Step one: clear and protect. Before any cleaning, we move furniture, planters, and the barbecue off the deck, and we cover nearby plantings, siding, and anything we don't want overspray or cleaner on. In our area that includes protecting the lawn and gardens that drain toward the Grand River watershed — one reason we use biodegradable, wood-safe cleaners rather than harsh chemicals.
Step two: clean and strip. Next comes a thorough wash to remove dirt, grime, pollen, and the mildew that thrives in KW's humid summers. Where there's an old, failing finish, washing alone isn't enough — we strip it back to sound wood so the new stain has a clean foundation. This is the difference between a real prep and a quick 'spray and pray': we're removing what's failed, not staining over it.
A word on pressure washing. Pressure washing is a tool, not a magic wand, and in the wrong hands it does real damage. Too much PSI gouges soft cedar and pine, raises and furs the grain, and leaves wand marks that telegraph straight through the finish. We match the pressure to the wood species and condition every time, and on delicate or older decks we often rely more on cleaners and dwell time than on raw pressure. Done right, washing cleans and opens the wood; done wrong, it ruins the surface before staining even begins.
Step three: brighten and neutralize. After stripping, the wood's pH is off and the tone can look blotchy. A brightening treatment neutralizes the wood, restores a more even, natural colour, and opens the grain so it can accept stain uniformly. It's a step a lot of weekend jobs skip entirely, and it's a big reason DIY results often look patchy.
Step four: repairs and sanding. With the deck clean and dry, we address the things you don't want sealed under a fresh finish: popped nails or screws, loose railings, cracked or rotted boards, and rough spots. A light sanding then smooths raised grain and gives a consistent surface for the stain to grip. On a full restoration, this sanding is much more aggressive — but even on a routine restain, a quick sand makes a visible difference.
Step five: let it dry. This is the step impatience ruins. Wood needs to be dry before staining — apply stain to damp wood and you trap moisture, which causes peeling and poor penetration. Depending on the weather, that can mean waiting a day or two between washing and staining. We watch the forecast and the wood, not the clock, because rushing this single step undoes everything before it.
Can you DIY the prep? You can, and some homeowners do a fine job — especially on a smaller, newer deck. We even offer power washing and prep as a standalone service for people who want to handle the staining themselves. But be honest about the time and equipment involved: correct-pressure washing, stripping, brightening, repairs, sanding, and proper drying add up to the majority of the labour on a deck project. The staining itself is the easy, satisfying part; the prep is the work that actually earns the result.
How long does proper prep take? On a typical residential deck, prep and staining together run two to three days, and prep accounts for most of that time. Day one is usually clearing, washing, stripping, and brightening; the deck then needs to dry, which depending on weather can mean waiting until day two or even three; sanding, repairs, and the two finish coats follow. A larger or multi-tier deck, or one that's been neglected for years, takes longer. If a contractor promises to wash and stain your whole deck in a single afternoon, that's a red flag — the wood simply can't be clean, dry, and properly prepped in that window.
The bottom line. When you're comparing deck staining quotes, ask each contractor exactly how they prep — washing, stripping, brightening, repairs, sanding, and drying time. If a quote is suspiciously cheap, the prep is almost always where the corner is being cut, and you'll pay for it when the finish fails early. We never stain over a dirty deck and call it done, and every job we do is backed by a written two-year workmanship warranty — because we stand behind the prep, not just the pretty top coat.